When there’s no easy way
Let’s say that you want to isoate your “working” data from your root file system on your VPS. The most common way how to do it e.g. on your PC, your home-lab server, etc. is to put your working data (websites, apps, docker containers,…) onto a separate drive, or at least a separate drive partition. But when you rent a VPS the root partition usually stretches across the whole drive and depending on your provider; there might not be easy way to change it.
Is there a way if there is no way?
It depends…
If your VPS uses an ex4 filesystem type, than you cannot shrink the partition, while it’s in use. Meaning that you need to the stop machine, ideally boot from other type of strage device and then resize the fs while your main drive is not beiing used.
Which as you might imagine, might be quite tricky to pull since your VPS is quite “virtual” and buried in some datacenter far away from your reach and access.
The best way how to resize your VPS drives partition is to use your providers admin area. Not all providers will give you the option to do it, though. Thus, you will have to get a little creative.
Repartitioning root fs with limited options
This is sort of hacky way that I found, but it works for my VPSes. I first tested it on my home-lab Proxmox server and then replicated the proccess on my Time4VPS servers. (Yep, affiliate link, just FYI)
How to do it in few easy steps… (where almost in all of them you might end up bricking your machine and be forced to reinstall it all over again)
- Prepare your machine
- Boot ISO OS from RAM
- Resizing
- Cleanup
Warnings and pre-requisities
⚠ Let’s start with warnings…
- Do not do this on machines with critical apps / data
- Messing up with GRUB files might brick up your machine
- I am not responsible for your bricked machine, money lost, etc. 😉
Pre-requisities
- I tested it only on Ubuntu Server machines, but other deb-based maybe even non-deb-based machines should work, since booting from ISO is a GRUB feature, rather than distro specific thing.
- You have to have a VNC connection through your hypervisor machine. Since you can’t be sure that the network will work when booted from the ISO. If you play with this approach little more, you might be able to configure network through kernel entries and SSH into your machine, but if you have a VNC connection option, you will save some time.
- Do it on a freshly reinstalled / new VPS. Chances of bricking it are quite real. If it happens, you can just reinstall the OS and start over again.
Let’s get started!
1) Preping your machine
SSH into your machine and become a root. Or use sudo. Whatever you like.
First we need to update the repo.
# apt updateDo not bother upgrading untill you’re done with repartitioning
# apt install grml-rescuebootThis will install a package that allows you easily add an ISO file that your GRUB will recognize and allow you to boot from it. It automatically checks the /boot/grml directory. That’s where we will place our image.
Now let’s get the grml live ISO. I am using grml because it’s basically build for these sort of “rescue” operations on Linux systems. It’s basically a Debian based distro with nice set of tools that you might need in emergency situations.
We’re gonna use grml-small version
# cd /boot/grml
# wget https://download.grml.org/grml64-small_2021.07.iso
Now we need to tell GRUB to find this file and create boot entry for it.
# update-grubIn the output you should see that your grml ISO was found:
Found linux image: /boot/vmlinuz-5.4.0-124-generic
Found initrd image: /boot/initrd.img-5.4.0-124-generic
Found linux image: /boot/vmlinuz-5.4.0-28-generic
Found initrd image: /boot/initrd.img-5.4.0-28-generic
Found linux image: /boot/vmlinuz-5.4.0-26-generic
Found initrd image: /boot/initrd.img-5.4.0-26-generic
Found Grml ISO image: /boot/grml/grml64-small_2021.07.iso
done
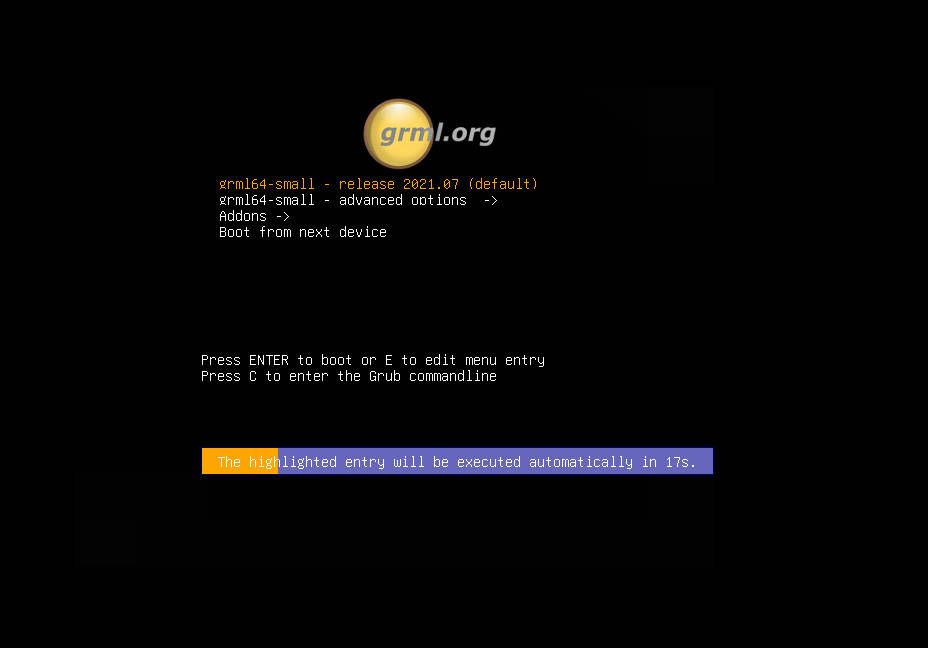
Now if we would reboot the machine into the GRUB we will be able to choose this entry from the list. But it’s not always possible to do it through the VNC so let’s make GRUB choose this for us automatically:
First, we need to find the name of our menu entry:
# cat /boot/grub/grub.cfg | grep -i grml
---
menuentry "Grml Rescue System (grml64-small_2021.07.iso)" {
        iso_path="/boot/grml/grml64-small_2021.07.iso"
        loopback loop "/boot/grml/grml64-small_2021.07.iso"
### END /etc/grub.d/42_grml ###
We are interested in “Grml Rescue System (grml64-small_2021.07.iso)” since this is the option we want GRUB to select for us. Let’s copy it and open the /etc/default/grub file and change GRUB_DEFAULT=… Entry to menuentry name:
GRUB_DEFAULT="Grml Rescue System (grml64-small_2021.07.iso)"Almost done. Now the last thing is to force our grml to boot into RAM. From our command a few lines above, we see that default grub settings for our grml is located in /etc/grub.d/42_grml.
Open this file in editor and locate line with additional_param=“…”. Here you can add additional configurations for grml. We will set these two:
additional_param=" ssh=YOURP4SS toram "
--- SAVE the file and run
# update-grub
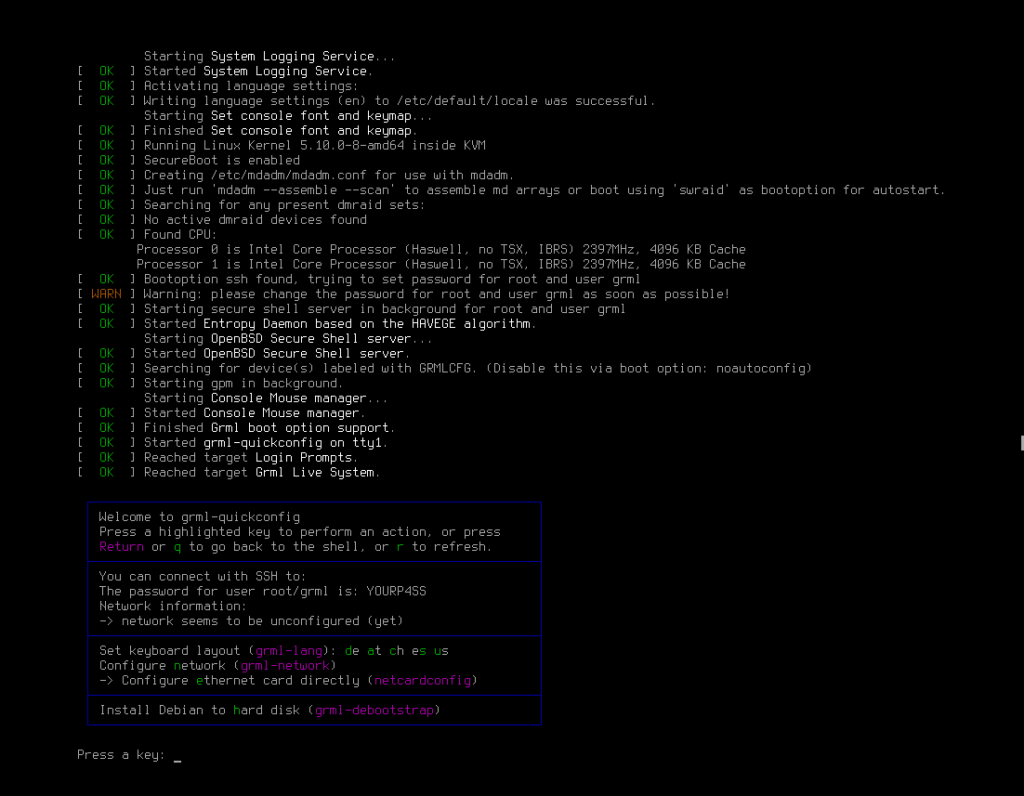
Now we are set. Grub knows about the ISO, it will boot to RAM, if your network will work you can SSH into it as root@YOUR-SERVER-IP with YOURP4SS.
2) Booting..
Now is a great time to connect to your machine through the VNC. You should be able to see the boot process, depending on how responsive the VNC connection is.


Just hit enter and you will be logged in as a root.
3) Resizing
// Sometimes you need to first fix the filesystem replace X with desired partition.
# e2fsck -f /dev/sdaX

// Now resizing to your desired size e.g.: 20G
# resize2fs -f /dev/sdaX 20G
Now we can edit the partition size through fdisk.
# fdisk /dev/sda

// Process order:
// d --> $id-of-partition --> n --> $id-of-new-partition --> $starting-sector --> $ending-sector/size --> $remove-signature? --> w

// Process example:
// d --> 2 --> n --> 2 --> 4096 --> +20G --> N --> w
Now if you run fdisk -l you should see your root filesystem with the size of 20G.
You can create another partition e.g. /dev/sda3 here or later in your main OS.
Back to your main OS
In order to get back to your main OS, you can just mount your root fs, change default option in grub.cfg file and reboot. E.g.:
# mkdir /tmp/root
# mount /dev/sda2 /tmp/root
# cd /tmp/root/boot/grub/
// Sometimes grub.cfg is protected from writes so you might need to change that
# chmod 644 grub.cfg
# vim /tmp/root/boot/grub/grub.cfg
Locate set default=”Grml Rescue System (grml64-small_2021.07.iso)” entry. It is usually located towards the top of the document, and change it to:
set default=0Now reboot and your machine should boot back into your standard OS.
4) Cleanup
When you are back to your main OS I’ll recommend to do a few things.
- Set the entry and value of GRUB_DEFAULT=0 in the file /etc/default/grub so that your OS will boot correctly.
- Remove grml ISO file from /boot/grml
- If you don’t plan on using grml anymore, uninstall grml-rescueboot package
- Run update-grub to refresh your grub.cfg file settings back to default.
That’s it
As I said, rather hacky way… But if you wan’t to keep your cluster partiions / app data / or anything else separate from your root file system and you just don’t have any other way to do it. Here you go.
Let me know if you will see any typos, possible improvements, etc.
